발자국 시스템에서 NavMesh를 사용하면 좋을 것 같아서 수정해주었다.

가장먼저 2D에는 공식으로 NavMesh를 지원하지 않기 때문에 다운받아서 사용해준다.
https://github.com/h8man/NavMeshPlus
가장먼저, NavMesh를 만들 오브젝트를 만들어야한다.

이후 Navigation Surface와 navigation collectSource2D 컴포넌트를 추가한다.
Surface는 길을 만들어내는 설계자의 역할이고, CollectSource2D는 길을 만들때, 2D로 만들어 내기 위함이다.
이후 플레이어가 이동할 수 있는 공간을 만들어준다. Walkable

Navigation Modifier를 넣어주고, Override Area를 체크, 이후 Walkable로 설정해준다.
네비게이션을 사용할때, 길, 장애물 등은 collider가 존재해야한다.
이후 장애물을 만들어준다. Wall

Navigation Modifier를 넣어주고, OverrideArea에서 Not Walkable을 해준다.
Bake

이후 Surface에서 bake를 해주면 이렇게 파란색으로 이동할 수 있는 공간이 뜬다.
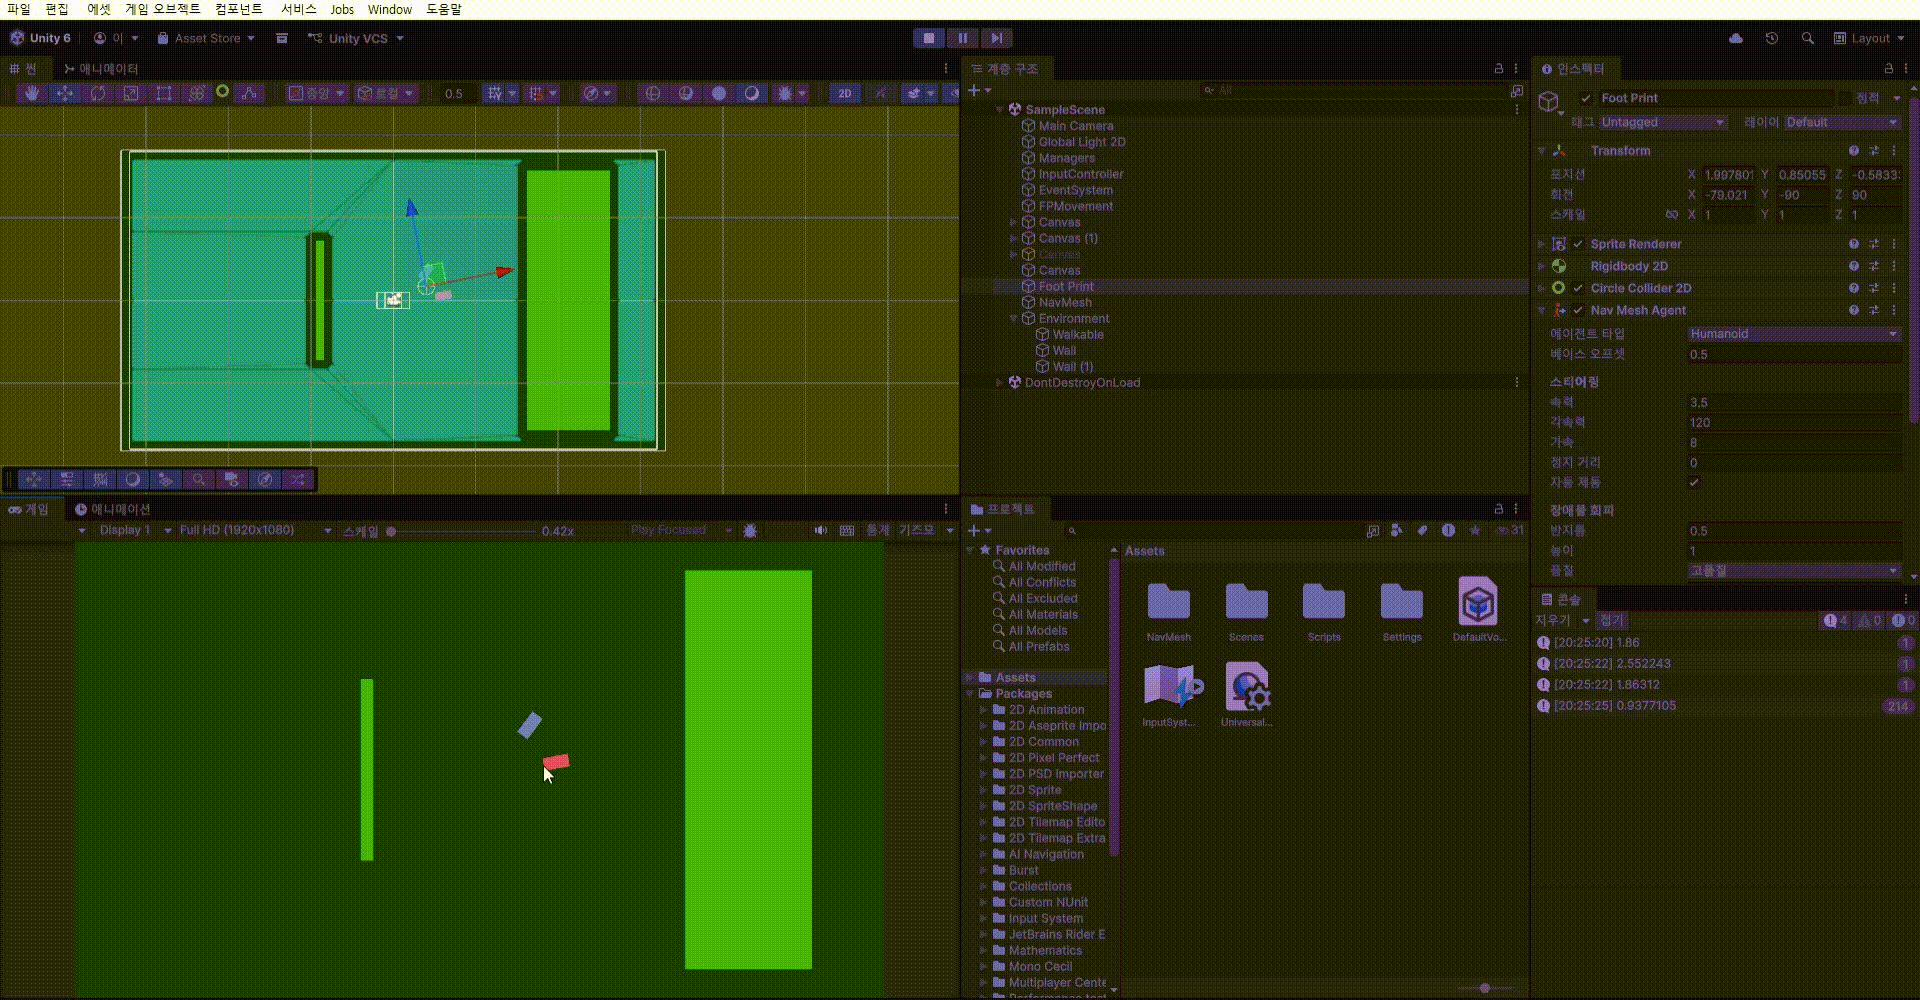
Agent

이후 이동할 컨트롤러 오브젝트에 NavMesh Agent를 넣어준다.
using System.Collections;
using Unity.VisualScripting;
using UnityEngine;
using UnityEngine.AI;

public class FPMovement : MonoBehaviour
{
    [SerializeField] InputController input_C; // 입력 컨트롤러
    [SerializeField] GameObject footPrint; // 움직일 발자국
    private Rigidbody2D footPrintRb; // 움직일 발자국 Rigid
    private NavMeshAgent agent; // 발자국 Nav
    [SerializeField] float smoothTime; // 움직임 반응시간
    [SerializeField] float maxSpeed; // 최대 속도
    [SerializeField] float strideMinDis; // 최소 보폭 길이
    [SerializeField] float strideMaxDis; // 최대 보폭 길이
    [SerializeField] float walkSpeed; // 걸음 속도
    [SerializeField] float footSpacing; // 발 간의 간격

    [SerializeField] GameObject LeftFoot; // 왼 발자국
    [SerializeField] GameObject RightFoot;  // 오른 발자국

    [SerializeField] Vector2 currentVelocity = Vector2.zero;

    [SerializeField] LayerMask wallLayer; // 벽 레이어

    private void Awake()
    {
        footPrintRb = footPrint.GetComponent<Rigidbody2D>();
        agent = footPrint.GetComponent<NavMeshAgent>();
    }
    private void Start()
    {
        // StartCoroutine(Move());
        StartCoroutine(PrintFoot());
    }
    void Update()
    {
        agent.SetDestination(input_C.MousePos);
    }
    IEnumerator Move()
    {
        while(true)
        {
            Vector2 startPos = footPrint.transform.position;
            Vector2 endPos = input_C.MousePos;

            Vector2 nextPos = Vector2.MoveTowards(startPos, endPos, maxSpeed * Time.fixedDeltaTime);

            footPrintRb.MovePosition(nextPos);

            // 물리 기반 프레임
            yield return new WaitForFixedUpdate();
        }
    }
    IEnumerator PrintFoot() // 발자국을 남기는 함수
    {
        bool isLeft = true;
        while (true)
        {

            // 왼발 오른발 판단
            GameObject foot = isLeft ? LeftFoot : RightFoot;
            float footWeight = isLeft ? -footSpacing : footSpacing;

            // 회전 확인
            // Vector2 direction = input_C.MousePos - (Vector2)foot.transform.position;
            Vector2 direction = (Vector2)footPrint.transform.position - (Vector2)foot.transform.position;
            float angle = Mathf.Atan2(direction.y, direction.x) * Mathf.Rad2Deg;


            // 위치 확인
            Vector2 startPos = foot.transform.position; // 현재위치
            Vector2 currentPos = (Vector2)footPrint.transform.position + (Vector2)foot.transform.right * footWeight; // 도착위치

            Vector2 disVec = currentPos - startPos; // 레이 길이 벡터
            float rayDis = disVec.magnitude; // 레이 길이

            RaycastHit2D hit = Physics2D.Raycast(startPos, disVec.normalized, rayDis, wallLayer);


            // 벽과 부딧혔을 때
            // if(hit.collider != null)
            // {
            //     currentPos = hit.point + (hit.normal * 0.05f);
            //     Debug.Log("벽과 떨어트리기");
            //     yield return null;
            //     continue;
            // }


            // 보폭체크
            float dis = Vector2.Distance(foot.transform.position, currentPos);
            Debug.Log(dis);
            // 최소 보폭보다 변화가 작을 때 안움직임
            if (dis < strideMinDis)
            {
                // Debug.Log("최소보폭 보다 작음 안움직임 " + dis);
                // isLeft = !isLeft;
                yield return null;
                continue;
            }
            // 최대 보폭보다 변화가 클때 안움직임
            // if(dis > strideMaxDis)
            // {
            //     yield return null;
            //     continue;
            // }

            foot.transform.rotation = Quaternion.Euler(0, 0, angle - 90);
            foot.transform.position = currentPos;
            isLeft = !isLeft;

            yield return new WaitForSeconds(walkSpeed);
        }
    }
}
NavMesh를 사용하기 전에는 Raycast를 사용하여 벽을 감지하고 발자국이 벽을 통과하지 못하게 설계했지만 NavMesh를 사용하고 나선 필요없다.
움직이는 agent를 가져오고, destination에 마우스 포인터 위치를 잡아주면 된다.
발자국의 회전의 경우, footPrint에서 마우스 포인터의 방향이 아니라, 현재 발자국에서 footPrint의 방향으로 설계하였다.
완성본
'GameDev > Step of Love' 카테고리의 다른 글
| Step of Love 달리기 시스템 (0) | 2026.05.27 |
|---|---|
| Step of Love 이벤트 상호작용 (0) | 2026.05.26 |
| Step of Love 스토리텔링 (0) | 2026.05.24 |
| Step of Love - 발자국 시스템 (0) | 2026.05.24 |
| Step of Love (0) | 2026.05.20 |